First Installation and Control Function
In the sub-sections, the procedures of first installation are illustrated. A description of the device’s menu will also be provided.
Installation
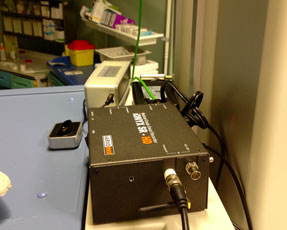
Installing the device is a simple and fast procedure.
You just need to connect the video output of the camera to the iONYX input and the OUT connector to a monitor by using coassial cables (BNC). Subsequently, connect the power supply and turn on the iONYX. The installation is over.
The insertion of iONYX between camera and monitor does not generate any delay in the video transfer. Moreover, new pieces of information are added and shown on the monitor, such as:
Time Code, REC or streaming video
Very useful features during the recording phase.
Video Signal
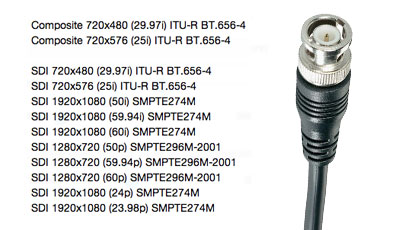
iONYX can be connected to any camera, both low resolution (PAL) and High Definition (HD SDI). The type of the link connector is BNC and the cable is of a coassial type. In the case that the camera had only output video HDMI or DVI, converters can be used.
Controller


In order to access and manage the command functions of iONYX, you just need a device with wi-fi on which a browser has been installed to navigate on internet.
Accessing the network settings (wi-fi) of the device and find the network iONYX-DR-012345-12345, associate the device to the network and save the settings.
Open the browser to navigate on internet.
Write on the address bar for navigation www.ionyx.com to be directed to the control site of the device.
Credentials of the device:
Password: admin
User: admin
To keep control of the instrument and remain under control of the device.
Furthermore, it is advised to disable the command “turn off” or “pause” of the device.
Setup

The image shows the control interface of iONYX after the login and is composed of macro buttons. On the upper part, there are the Record, Stream, Review commands followed to smaller buttons: Video, Images, Report, Statistics and Setting.
The Interface is user-friendly and allows you to know the status of your device. Furthermore, you will visualise the capacity of the archive and how many files (audio and video) have been used.
Settings

In order to use the device correctly, at first plug-in, it is necessary to set up specific settings by adding: characteristics of the camera, info of the patient, create a surgery list etc…
Using the controller, go to the “settings” command. In this section, you can configure Video, Audio, OSD, Network, Streaming, System, Patient info, Surgery type, Update.
Video Settings
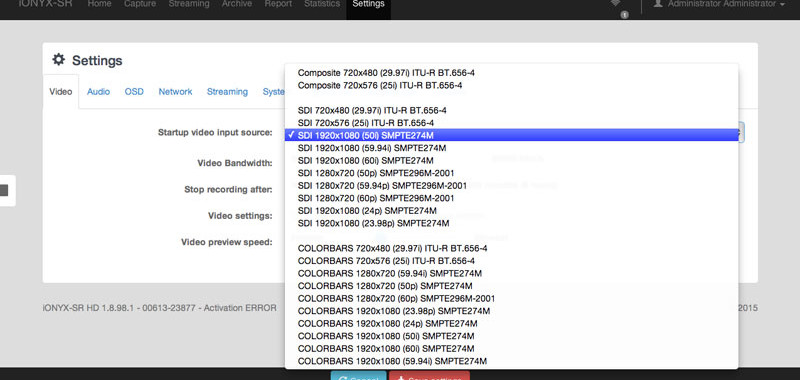
Input source:
First thing to do is assigning the type of video signal generated by your camera. (Control the manual or the output settings of the camera). Select the video signal and save the settings.
Video bandwdth:
Select the video quality between 2000 Kbit/s a 20000 Kbit/s. This value influences recording and quality of the streaming.
Stop recording:
Assign a security value that forces the recording to stop when, accidently, the camera has been recording for longer than that value. 0 (zero) or never indicate that the recording will never be stopped automatically.
Video setting:
Visualise the camera settings on the capture screen. To activate this function, you need to select it
Video preview:
Choose images flow visualised in the preview screen. Look at the sections in the control interface (Record, Stream and Play).
Audio Settings
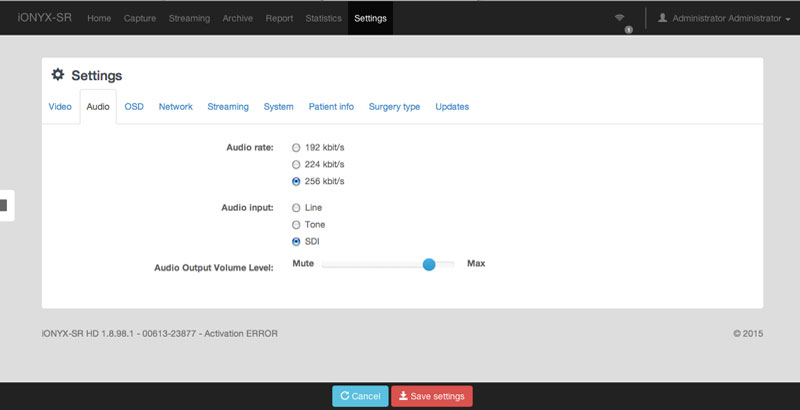
When iONYX is used to stream a live surgery, it is useful to combine video and audio.
Audio rate:
Select quality of audio.
Audio input:
Select type of audio signal used during recording phase or streaming.
Audio Output:
Select volume from your speaker when iONYX-SR HD is in the operating room.
OSD Settings
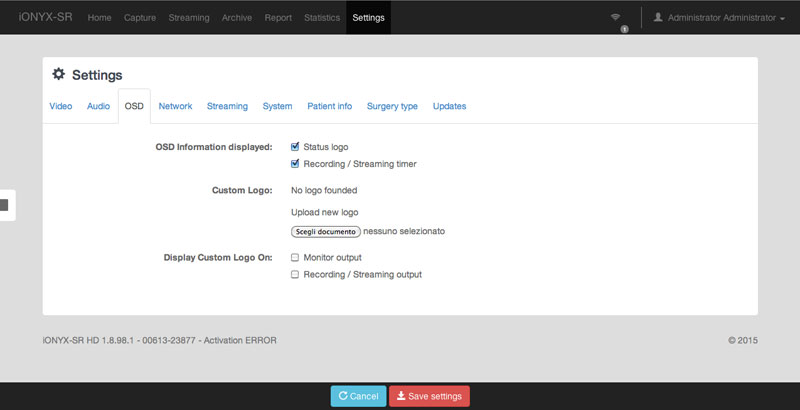
OSD settings allow to visualise on the monitor (connected to output video) additional info about the device status while working.
OSD Information display:
Select desired setting.
Custom Logo:
It is possible to import a personalised logo inside iONYX-SR HD. This will be visualised on your video.
Display Custom Logo On:
Select desired setting.
Network Settings
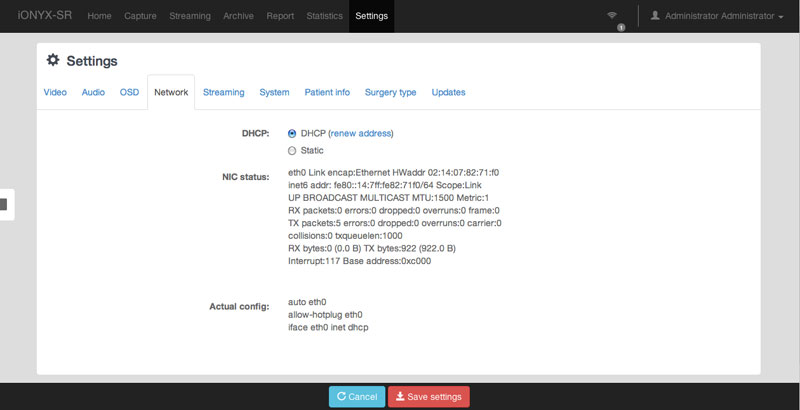
In the case that you want to make a transmission on geographic or local network (to share the operation with a convention), you need to take care of the network settings.
DHCP:
Select the characteristics of your connection to the ethernet network.
NIC status:
Actual config:
The information is visualized as a report that has been given by the system. These pieces of info are given after that the connection is correctly configurated to the ethernet.
We advise you to ask assistance from your network administrator.
Streaming Settings
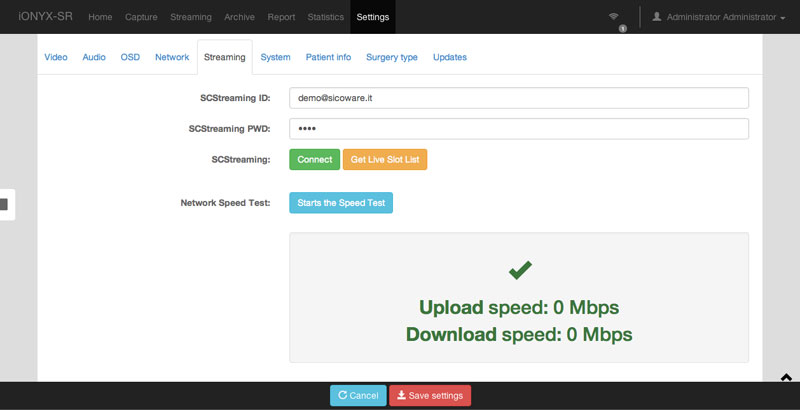
You can use this menu only after connecting the iONYX to Ethernet network and configuring the settings correctly. This section will be used to manage the streaming of the live surgery. Moreover, it is possible to ask for a “booking” time that will allow the video (signal) transfer to destination on both networks (local and geographic).
Network Speed Test:
Do the velocity test in order to determine the network performance.
SCStreaming ID:
(this value must not be modified)
SCStreaming PSW:
(this value must not be modified)
SCStreaming:
Push “connect” to initiate a transmission request. Your server will create a unique code to be used for the transmission
System Settings
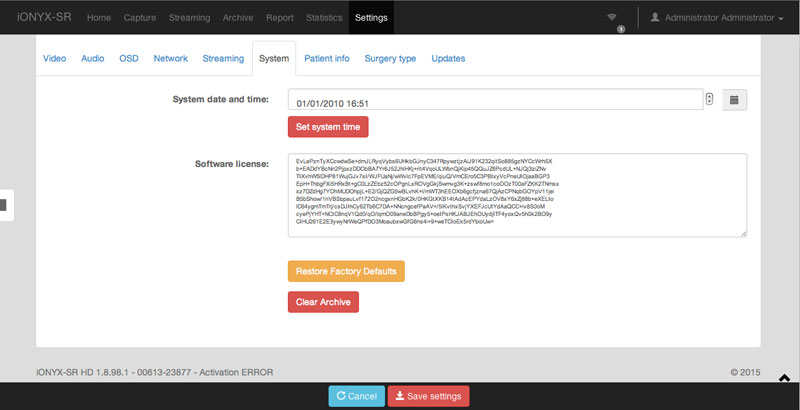
In this section, the settings of the system will be configured. These settings can be changed by using the drop down menu.
Sofware licence
Restore of predetermine settings
Cancellation of all the data
Patient Data Settings
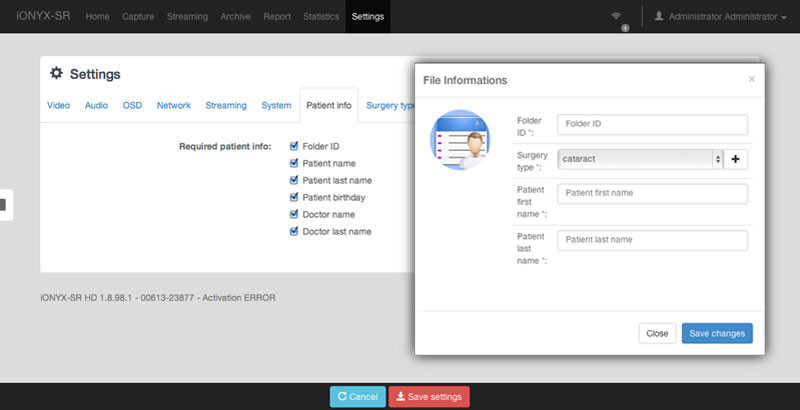
When the device is used to create photographic or recorded documentation, it is useful to associate information to every single file. Consequently, these pieces of information will be used as search keys.
Everytime you use the command “REC” for recording, the file will obligatory associated with the information.
Select the desired info.
Type of Surgery Settings
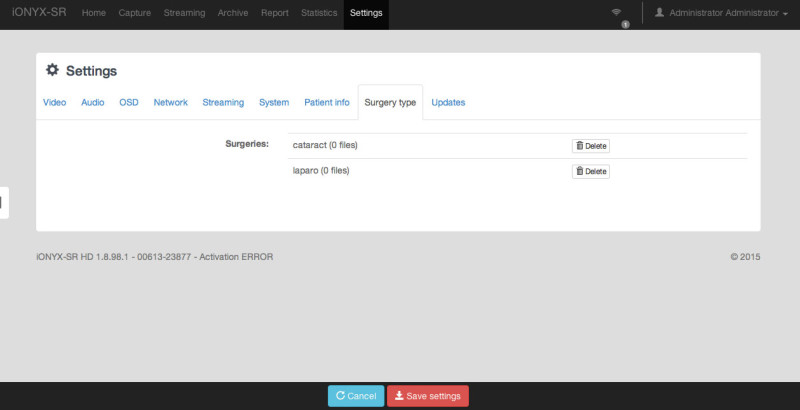
In order to facilitate some repetitive actions, sometimes some pieces of info are used again. This is the case of “Surgery Type”. On the patient chart, a list can be implemented to visualize the info. However, thanks to the menu “Surgery Type”, it is possible to erase the values that were previously inserted.
Updates
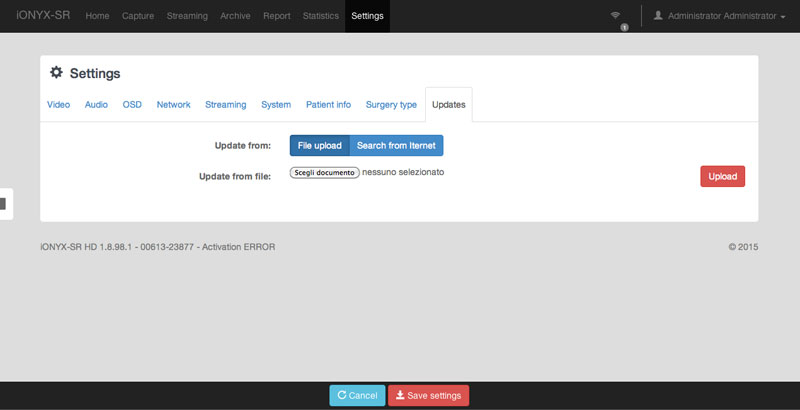
Through this menu, you will be allowed to make an Upgrade (released by the developer) of the system.
